After all the filming had been completed and we had filled in both the tape log sheet and edit decision list, we began editing the footage, the images below illustrate all the different things we did.
This is an image of us changing the sound levels by dragging the sound bar up and down on the selected so that they all hit a sound level of minus six, therefore the sound will flow evenly throughout. We also faded music in and out between and throughout interviews to make it more entertaining for the viewer.

During filming, footage was recorded a number of times so that we could choose the best section, therefore so that our documentary was only five minutes we had to use the clipping tool to shorten clips into the sections that we wanted, this tool being used is shown below.
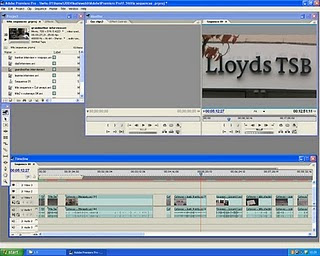

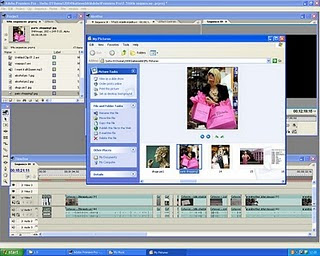
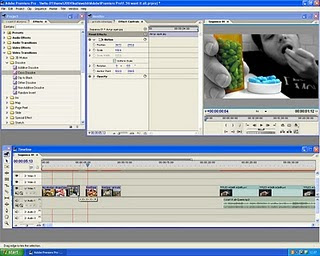
This image shows us importing archive footage from our files in to our project on Adobe Premier Pro, we would then drag it in to our time line,re-size it and add transitions to either side of it, so it flowed well.

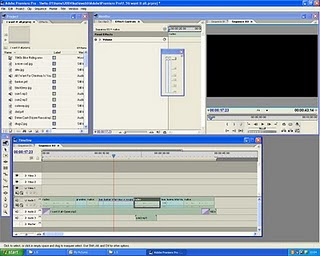
This image shows how we put all of our sound and video clips in to order so that we could see the gaps that we needed to fill, we either music, cutaways or voice over. Here you can also see how we have faded music in and out every time with an audio transition 'constant gain'.

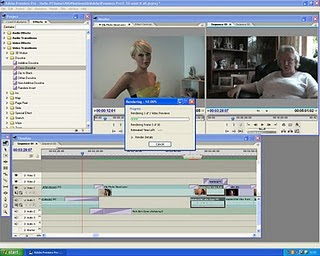
Here we our rendering our project so that it did not jump and was continuous, at first we thought our archive footage wasn't good enough quality but by simply rendering it, it all worked fine.

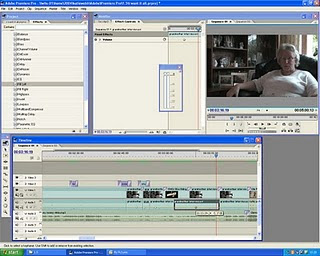
This image clearly shows us putting transitions in so that footage did not jump from one thing to another. We went to effects and then to video transitions and generally used 'cross dissolve' as this seemed the most appropriate one. We did test out a large majority of the transitions but they did not fit in with the tone of our documentary.

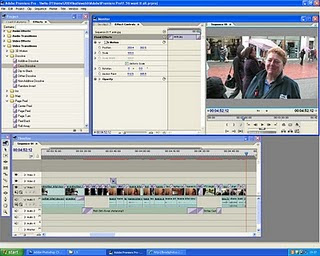
Some of the images and footage we found we different sizes compared to our interviews, so we changed the size so that they all we're similar. We clicked on the appropriate part of the time line and clicked on 'effect control's and lowered the 'motion' percentage.

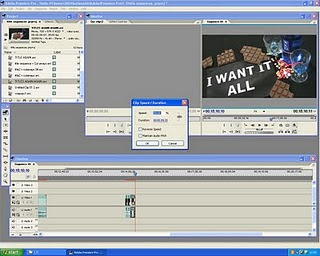
Some of the footage we had was either too long or simply looked better faster, so here we have right clicked on the clip and have clicked on 'clip speed' again here we changed the percentage by dragging it up or down.

Here we are cutting down audio clips for example our music bed, so that they would fit nicely in the right part and so that the lyrics would reiterate the image on screen.

This image shows how we edited our radio advert. We changed the audio levels so that they were all even, also,some clips were faded in and out. Furthermore we cut down a number of the clip so they were just included the right section that we wanted. We did this on a new sequence in Abode Premier Pro.
No comments:
Post a Comment